Showing posts with label recipes. Show all posts

Wednesday, July 23, 2014

WHY-Wednesday: Why I prepare all my meat in advance.

As I've mentioned in a previous post, I am terrified of working with raw meat.

So what happens when I get back from Costco with this?


More than 6 lbs of 88%-12% great-quality ground beef, all for $3/lb.

First off, I wrap it up in a plastic bag and stick it in the fridge until I am ready to work with it, 
hopefully within the next 24 hours.

The kids are down for their naps, so I take it out and do two things:

1.  I put 4 lbs worth of the beef in a pan to cook (each patty is about half a pound)--


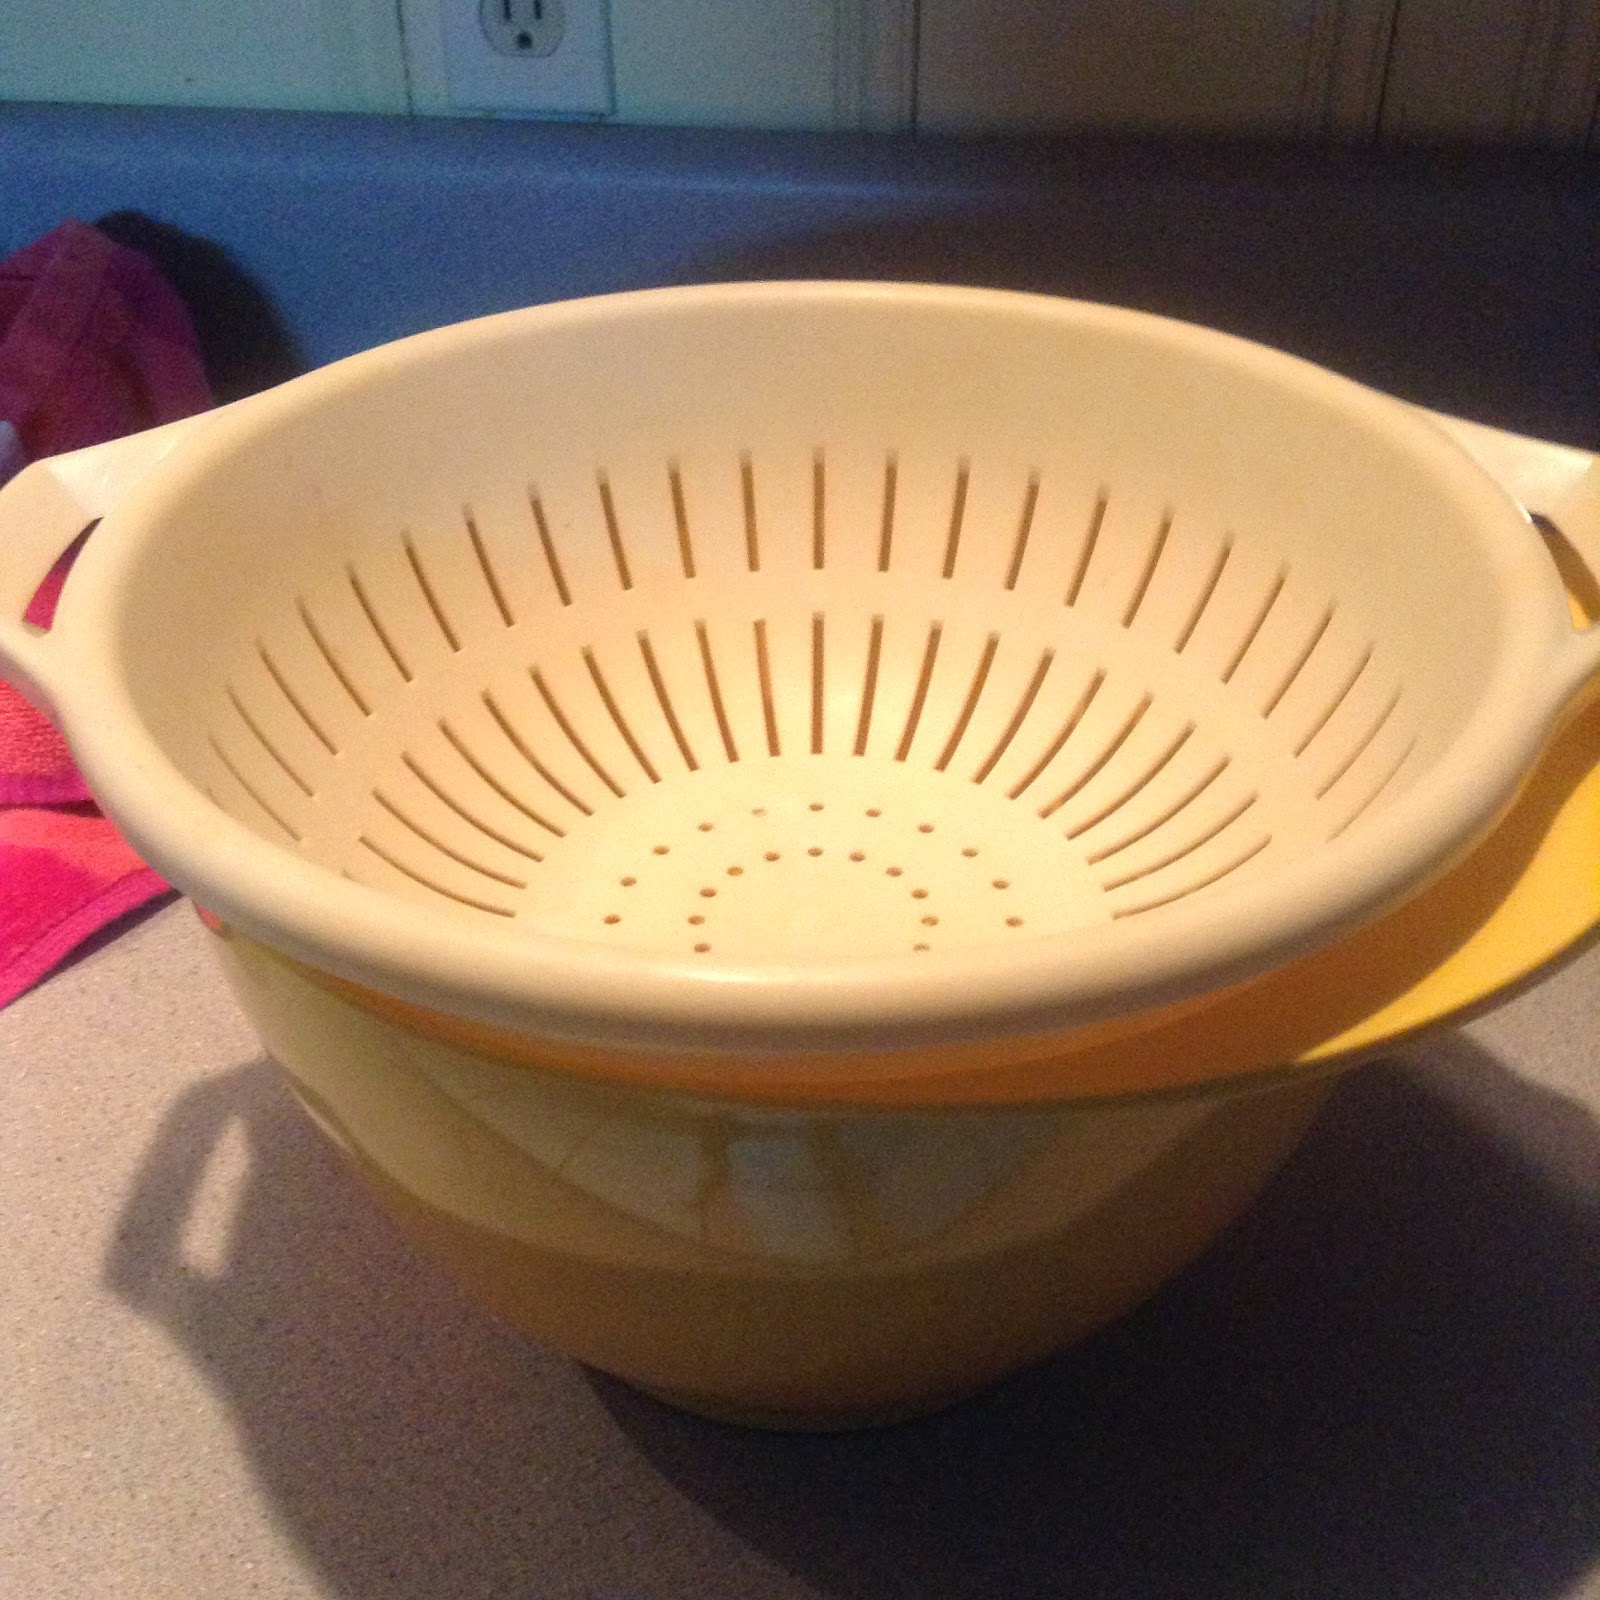
2.  And the other 2 lbs in separate ziplock bags to make meatloaf--


This is the first and last time I ever have to touch the raw meat!

While the meat is slowly cooking in the pan, I begin to work on the meatloaf--

***
(Lauren-modified meatloaf recipe from Better Homes and Gardens)
 Meatloaf
(Four servings)

- 1 egg, beaten 
- 1/4 c. old-fashioned oatmeal
- 1 tbsp. onion powder
- 1.5 tbsp. ketchup
- 1/2 tbsp. Dijon-style mustard
- 1/2 tbsp. Worcestershire sauce
- 1 clove of garlic, minced
- 1 tsp. salt
- 1 lb of ground beef

Mix well.
You can shape the mixture into a loaf and place in a 350F oven for about 1 hour.  Another option would be to put it in a slowcooker and let it cook on high for about 3 hour-ishs.
Or you can just do what I do and make hamburger-shaped patties and cook on the stove like you would a regular hamburger.
Top with ketchup.
***

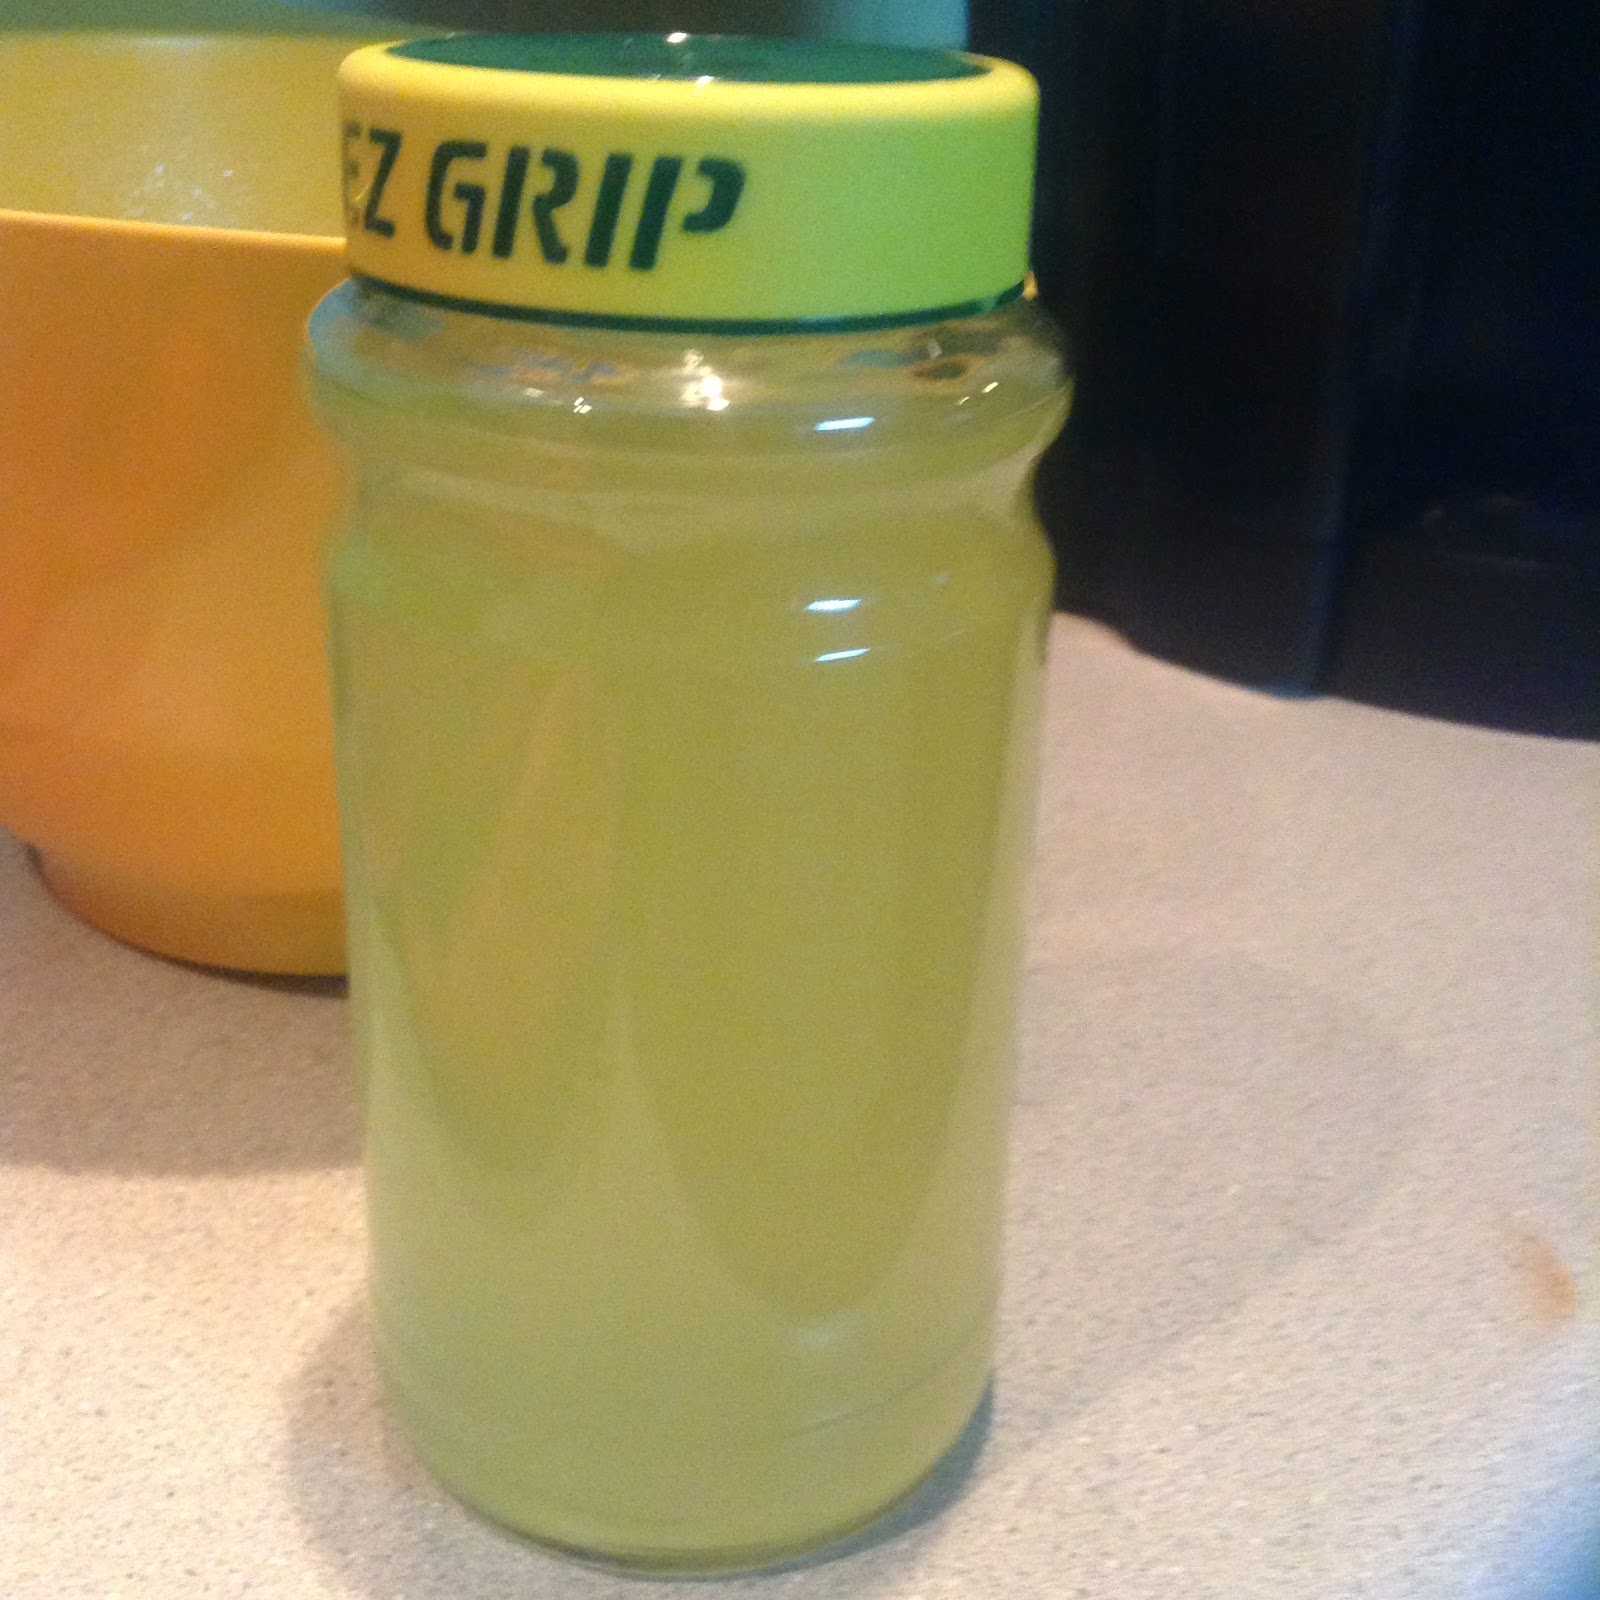
On a side note, I don't buy fresh garlic anymore.  I just use a giant garlic tub that I have stored in my fridge.  For a little less than $5 (at Costco!), you can get this and never have to mince garlic ever again.  Its only ingredients are garlic, water and citric acid, and will last you forever.

In the two separate ziplock bags, I throw in all of the ingredients.
(I do not use measuring spoons or anything for the spices.  Just roughly eye-ball.  We are not baking here.  There is a lot of grace when it comes to cooking, as long as you season well with salt).


Seal the bag shut and mix all of the ingredients until well-combined.


Now it is ready and you can stick it in the freezer for later, or use for dinner that day.

So now the rest of the meat should be completely cooked by now--

4 lbs of cooked ground beef.

Place half of the cooked beef in a separate bowl and let cool.


The remaining beef that was left in the pan is seasoned with taco seasoning.  Let it cook through until all the flavor is absorbed. 

Then take four sandwich-size ziplock bags and place the cooked meat in them.  
You'll have two 1 lb bags of plain ground beef, and two 1 lb bags of taco seasoned cooked beef (there is only one in the picture since the other 1 lb was being used for dinner that night).


Depending on the number of times you check Facebook and change your Pandora station, this entire process should take you about an hour to complete.

A half a pound of ground beef will feed my family dinner for one night.
Therefore, I just gifted myself with 12 days of simpler dinner-prep by doing all this leg work in advance.

Wednesday, July 09, 2014

WHY-Wednesday: Why I make my own chicken stock?

Well, the short answer to this is because it's cheaper...
and because I know exactly what is going into it.

It's also supposed to be very good for you... like a super food or something.

And when it gets down to it, it is super easy, and FREE!

Now, remember how I told you last week how much I love Costco?

Well, something you must know about me is that I *hate* raw meat.  I've gotten sick by working with it far too many times.  So one of the things I've started doing to deal with this intense hate is buying fully-cooked rotisserie chickens from Costco-- 


This entire chicken costs $5, and if planned correctly, I can feed my family dinner for four days off of it.  It's that big (and good!).

So after I finish using the meat, what do I do with the bones?


Now people-- this is probably one of the most common-known things in the world, but for me it was groundbreaking--  You make chicken-stock with it!

(As a side note-- did you know you should not use actual chicken meat to make chicken stock?  By doing so you strip the chicken from all it's good flavor, and should ideally toss it after the stock is finished)

So anyway...
You place the chicken carcass in the crock pot, fill it up with water (or your leftover whey from when you made your last batch of yogurt), throw in all those onion peels and random veggie pieces you've been storing in your freezer for the past couple of weeks, turn the slowcooker on low, and let it sit over night.

(Another side note-- only season with a bay leaf and some pepper kernels.  Do not season with salt since you don't know what you'll be using the stock in, and you don't want your final product to be too salty or insipid).

In the morning, this is what you'll find--


Let it cool down, drain, and store in the freezer.  

I normally get about three-ish quarts of stock from one chicken.  
I like to use these plastic can containers that are made specifically for freezing.  I will also put some in ziplock bags and freeze them that way.


When ready for use, just get it out of the freezer and let it thaw on it's own.  Or just stick it into the microwave and let it melt a little.  Then just throw the "ice-stock" in the soup/rice/bean/etc. dish you are making and let it finish thawing in there.

Enjoy :)

Sunday, May 25, 2014

The simple way of making yogurt at home

I've had a tremendous response to my WHY-Wednesday post regarding making my own yogurt at home.  

In particular, I've spent a couple mornings walking different friends through the process of straining and storing yogurt after it has set overnight.  It has been so much fun being part of their excitement as they discover for themselves the thrill and empowerment that comes with making your own yogurt.

Though I referred you to some good sites that show how to make your own yogurt, I've realized through answering some friends' questions that the sites did not do a good job walking readers through the final steps of straining and storing your home-made yogurt.

Therefore, I have decided to take your hand and walk you through this very simple process of making your own yogurt.

For starters, you can use any kind of cows milk-- whole, 2%, 1% or skim milk.  Since I strain it in the end, I have found the consistency to be the same.

I use an entire whole gallon of 2% milk.

You will also need 1-2 TBSP of starter yogurt 
(live culture yogurt found in any grocery store.  After you've made your yogurt once, you can just use your homemade yogurt as your starter for your next batch)

Pour the milk in your slowcooker.
(You can also use a pan over the stove top, or even microwave.  It really does not matter as long as you are checking the temperature.  Using the stove or microwave will make the heat-up/cool-down process go much faster than when using a slowcooker)


Cover and put on high and let it sit for about 3-4 hours until it reaches at least 180F (if it reaches over this temperature, no big deal.  It will just take longer to cool down).


Once it has reached 180F, turn off the crockpot and let it cool down to 112-114F (this does not have to be too exact, but you do want it to stay close within this range).  Depending on how quickly you need it to cool down, you can either leave the lid on or off.  This will take between 1-2 hours.  

Check temperature has reached the 112-114F range.  If it has gone bellow this range, no big deal.  Just turn it back up until it's back to the temperature you want it to be.
** picture missing-- will post one later**

(If a layer of "skin" forms on top of milk, just remove after it has finished cooling down)

Take a blob of your starter yogurt-- about 1 - 2 TBSP of it.  If you've never done yogurt before, you'll need to buy it from the store.  Just regular ol' plain yogurt that has live culture.


Yogurt-making is very forgiving, so no need to measure.  I normally just scrape the sides of my yogurt container, and whatever is caught, that's what I use as my starter.

Place the starter in a little cup, pour some warm milk in it, gently stir it, then pour back into the slowcooker. 
**picture also missing**

Place lid on crockpot, wrap in a beach towel and place in the turned-off oven with light on (the light will help contain the heat which will allow the good bacteria to reproduce overnight)


Leave it in the closed oven overnight for about 10-12 hours.

When you wake up in the morning, this is what you'll find:

TA-DAAAAAAAA!!!!!!!!


The yogurt is at the bottom, your whey is on top.

At this point, your yogurt is already made.  You can go ahead and whisk it right then and there to make regular yogurt (it will be very runny.  Runnier than store-bought yogurt), or you can drain the whey to make greek yogurt.  

To drain, you'll need a large bowl to catch the whey, a colander, and a cloth.  I use a cheesecloth, but it can be anything-- a towel, rag, shirt.  Basically, a cloth large enough to comfortably fit over the colander.


Pour the freshly made yogurt over the colander and strain for about 20 minutes.
NOTE:  The thicker the cloth, the longer you'll need to drain.  A cheesecloth is very thin, so it drains pretty fast.

Before it begins draining--


After about 20 minutes of draining--


The whey--


Dump the drained greek yogurt back into the slowcooker--


And whisk until smooth--

 
You can always add some more whey back into the yogurt to adjust the consistency.  Just keep in mind that as it sits in the refrigerator it will become thicker. 

I like to save my whey and use it in my cooking, or toss it over my plants or compost pile if I already have too much of it.


Friends... I have made me some yogurt :)  
Two large containers full of it, for a little over $3.


Wednesday, May 14, 2014

WHY-Wednesday: Why I make my own yogurt?

Did you know that making yogurt at home is one of the most fool-proof things to do?


It's a close second only to making your own peanut butter and jelly sandwich.

And best of all, it's incredibly impressive.
"why yes, I do make my own yogurt!" -- you say.

Just think about how awesome you would sound saying those words :)  And at the cost of hardly no effort!  (or money!)
Of course, if you are not a yogurt-eating person, then there is no point to it.  But if you're like me and use it in your morning smoothies in order to benefit from its probiotics, then this is a no-brainer.  You've gotta do it!

Okay, okay... so it really isn't that easy.  There is a bit of a learning curve, and different people do it differently.  But once you have found your style for doing it, it truly, truly, truly is incredibly easy!  I pinky promise :)

For example, all you need are two ingredients:  milk and live culture (which is just a fancy word people use for leftover yogurt).

This is not a how-to blog, so I'll spare you from the countless pictures that go along with a how-to post.  What I'll do instead is point you in the direction of my college-friend Marilee.

Take a few minutes to take a look at Marilee's post here if you want to learn more about making your own yogurt.

This post was mostly inspirational and a rough guide for me.  I actually do it quite differently than Marilee.  If this is something that interests you, I would encourage you to watch a few YouTube how-to videos and maybe a blog post or two on it.  My process for making yogurt is actually more like this one.

I use a whole gallon of 2% milk and use a cheese cloth to strain it at the end for about 20 minutes (save the whey!).  I also whisk it until smooth at the very end and store it in two large store-bought yogurt containers.

Anyway, for what it's worth... I love making my yogurt!  And you will too :)

**** Update Sunday, May 25, 2014****
My how-to post on how to make homemade yogurt.

Wednesday, April 30, 2014

WHY-Wednesday: Why I keep random things in the fridge and freezer?

Please take a look at the random items that now inhabit my fridge and freezer--

Ziplock bag of frozen banana pieces.

Why?  Banana bread.
Ziplock bag of frozen bread scrapes.

Why?  French toast casserole or breakfast casserole.
Leftover Easter ham bone that the in-laws were going to toss.

Why?  Ham stock.
Frozen grilled hotdogs that were going to be tossed after a BBQ last weekend.

Why? Weenies and beanies.

Now don't get me wrong (and my mother will be the first to attest to this), I am not afraid to throw food away.  If I know I will not be eating or using it in a recipe of some sort in the near future, I have no issue in getting rid of it. 

Other random food items you'll find in my fridge/freezer at any given point--
* Ziplock bag in the freezer that contains veggie scrapes such as onion peel, carrot ends, garlic layers (and old, dry garlic), bottom of celery head, etc.  Why?  I will later use these to make chicken stock.
* Leftover food.  Why?  If I've made enough food to feed the family for two nights and still have extra (but do not want to feed us with it again for a third time), I freeze it and use it sometime again in the future.
*  Cooked dried beans.  Why?  Canned beans are already cheap, but cooking your own dry beans is even cheaper.  This is a no brainer-- cook them all at once, freeze them in separate smaller containers, and thaw and use in the future when a recipe calls for them.
* Milled wheat flour.  Why?  I've started milling my own flour to make my own whole wheat bread (I know, crazy!  I may just have too much time on my hands).  If there is any leftover flour, I place it in the freezer to keep it from loosing its nutritional value, and just use later when making pancakes or cookies or something.
* Chopped veggies.  Why?  If I see that green peppers, for example, are on clearance... well, hellooooo veggie-I-never-buy-bc-you're-too-expensive-- chopped and stored away in a ziplock bag for later use.

And there are many more.  

Next time you come over to my house, don't hesitate to ask what random things I have in my fridge/freezer.  You may like what you see :) Just promise not to be too shocked.

Tuesday, March 04, 2014

Funny faces

One of my favorite books I've been reading lately is The Mission of Motherhood by Sally Clarckson.  It has been an incredible blessing, and has encouraged me as a mother beyond (almost) anything else I've heard or read in the past 2.5 years.

One of the things that hit home for me in reading this book was learning how to make the "mundane" special.  How to make every-day things memorable for our children.

With the idea coming from a post I saw on a college-friend's blog, I decided to begin making "funny faces" (as Emma likes to call them) for our meals.


Meal time is more exciting and extra special, simply because I now take a little extra time putting some "love" into our little girl's plate.

Tuesday, November 05, 2013

Day of the Dead

I finally got around to doing what has been on my to-do list for years:  recognize Day of the Dead in our home.  It seems redundant to clarify this, but just to set matters straight -- no, we don't believe in Day of the Dead!  BUT, Day of the Dead is a huge part of my heritage.  I tell people that this holiday is the equivalent to Thanksgiving to Americans.  It's that big!  So I want to make an effort to raise our children with a this in mind.

So, all that to say, I finally got around to making some pib and xec last night and invited some friends to join us.  Though we want our children to experience this in the future, children were not included last night at our dinner table -- it was only adults, and it was so much fun!

I have no pictures other than my pib straight out of the oven.  Having been my first time making it, it turned out pretty good, but it does need some tweaking before next year.

Until then...

Tuesday, July 03, 2012

Story of a chicken

I've been trying to stick to my grocery budget for the past few months.  The amount was pretty doable earlier this year, but once Emma started eating what we were eating, I began preparing "healthier" food, which means much more produce than before (which probably attributes to the additional 15 lbs I've lost from my pre-pregnancy weight -- yay!).  Therefore, to make everything work into our budget, I've been making a lot of rice and beans, enjoying toast or oatmeal in the morning instead of cereal, and eating lots and lots of chicken (instead of beef, pork, etc). 

So the other day I decided to stick a whole chicken in the crockpot to make things easier on me.  I just seasoned the inside and outside of it and turned it in on low for a couple of hours.  I took it out and left it cool for about an hour.  My friend Mary and baby Laura were over at the time.  I asked her if she had any tips on what to do with the leftover juices -- "I just top the juices in the crockpot with water, chicken bones, and veggies, and let it sit on low overnight" she said (I added the giblets in it as well), "then you have homemade chicken broth."  Yuuuummmm...

I did as I was told, and what ended up happening?  I ended up with toooons of broth.  Wonderful, right?  Well, the only problem is that I have only so much room in my freezer.  

What to do?  What to do?  Got on pinterest... What to do?  What to do?  I got it -- cream of chicken!  SCORE!

All prepared and ready to cool down before bagging.

Bagged and ready to go into the freezer.

I prepared this recipe.  I was not too pleased with it -- it had too much flour.  I am going to either tweak it or use a different one next time around.

What was Emma doing all this time?  Playing in the kitchen near her mama <3


Sunday, June 24, 2012

Smoothies


I have started preparing smoothies with the intention of getting two fruits and one vegetable serving every day.  The blender often throws Emma into a frenzy for which I normally end up holding her in my arms while drinking it.  As always, she wanted to stick it in her mouth and try it.  I thought -- "whatever, we'll see what she thinks?"  Well... she loves it!  This green, gross looking beverage seems to be the best thing she has ever had aside from her mama's milk :)

And just because I told my sister I would tell her what's in it, here it is:

Yummy smoothie 
* 1 frozen banana
* 1 serving of fruit -- strawberries and peach are the only two variations I have tried
* 1 serving of spinach
* 1 cup of vanilla yogurt
* ~1 T. granola

Friday, May 25, 2012

Nonfat Granola

Great recipe to have around.  I enjoy it with yogurt, my morning cereal or all by itself.  Great to gift to new nursing mamas (oats are supposed to be good for milk production).


Nonfat Granola
By Jonni McCoy 

3/4 c. brown sugar
1/3 c. concentrated apple juice from frozen concentrate
1/2 c. nonfat dry milk
1/3 c. honey
5 c. quick-cooking oats (I use regular oats)
2 T. cinnamon
1/2 tsp. salt
1/2 c. dried fruit

     Mix sugar, juice, dry milk, and honey in saucepan and heat over medium heat only until sugar dissolves.  Combine dry ingredients and fruit in mixing bowl.  Pour sugar mixture slowly over dry mixture and blend well.  Place on cookie sheet and bake at 375* for 10 to 20 minutes, stirring every 10 minutes. 
     Options:  Be creative by adding peanuts, sunflowers seeds, coconut, sesame seeds, peanut butter, or whatever else your family enjoys.  (I put about half cup each of coconut flakes, almonds, and raisins).

Friday, August 12, 2011

Corn dog muffins

What a fun little recipe I made this week! I wish I could remember where I got the idea from - I must have come across it in a blog a while back and have been wanting to try making them ever since. Hot dogs were buy 1 get 1 free this week at Publix, so I thought that the time had come for me to give them a try.

You start off by making the corn bread mix according to your own recipe. Boil the hot dogs for a few minutes to get them cooked. Grease your muffin pan, fill them half way up with the cornbread mix. Cut the hot dogs into a number of pieces and place them on top. Bake.

Before the oven.


After the oven.


Serve with ketchup and mustard. Very yummy! I can't wait to make these with our little family when we go out for a picnic or the zoo or something fun like that.

Tuesday, July 12, 2011

Pizza dough recipe


I've been experimenting for over a year now looking for the best pizza dough recipe. Once B gave my my KitchenAid mixer, I was able to find it.

Pair it with this pizza sauce recipe, and I can assure you you'll never want to buy pizza again.

Crusty pizza dough recipe
Taken from the Instructions and Recipes booklet from KitchenAid

Yield: 4 servings (1/4 pizza per serving)

1 package active dry yeast (2 1/4 tsp active dry yeast)
1 cup warm water (105F to 115F)
1/2 tsp salt
2 tsp olive oil
2 1/2 to 3 1/2 cups all-purpose flour
1 tbsp cornmeal

Dissolve yeast in warm water in warmed mixer bowl. Add salt, olive oil, and 2 1/2 cups flour. Attach bowl and dough hook to mixer. Turn to Speed 2 and mix about 1 minute.

Continuing on Speed 2, add remaining flour, 1/2 cup at a time, and mix until dough clings to hook and cleans sides of bowl, about 2 minutes. Knead on Speed 2 about 2 minutes longer.

Place dough in greased bowl, turning to grease top. Cover. Let rise in warm place, free from draft, about 1 hour, or until doubled in bulk. Punch dough down.

Brush 14-inch pizza pan with oil. Sprinkle with cornmeal. Press dough across bottom of pan, forming a collar around edge to hold toppings. Add toppings as desired. Bake at 450F for 15 to 20 minutes.

Sunday, July 10, 2011

McMain Brownies


I was looking for a way to encourage B yesterday after a long day of working outside in the yard and then later on the crib. Along with the meal, I also tried these brownies, made from scratch.

I don't know what people's experience with brownies has been, but oddly enough, it seems like "box brownies" taste better than homemade ones.

Well, this recipe is the exception to the rule. They are very "fudgy" and so easy to make. They call for relatively little flour, and includes ingredients you most likely already have around the house. Perfect for when trying to come up with a last minute dessert.

I like to make my brownies in a muffin pan - they bake faster and they are less dry.

The recipe is taken from The Kelly Family Cookbook.

Ingredients -

2 sticks of butter, at room temperature
2 cups of sugar
4 eggs
1 cup of flour
3/4 cup of cocoa
3/4 tsp salt
1 tsp vanilla
1 cup of pecans

Procedure -

Mix flour, cocoa, and salt. Set aside. Cream butter and add sugar. Beat in eggs. Add vanilla and dry ingredients. Stir in pecans. Pour into a 9x13 greased pan (I use a muffin pan). Bake at 275F for 1 hours (I baked them for 25 min. in the muffin pan)

Thursday, July 07, 2011

Strawberry baked oatmeal


I've never been much of an oatmeal fan. I've never really liked the flavor (or lack there of) and it's texture. But as I've been trying to think of less expensive alternatives for breakfast (instead of always eating box cereal), I've slowly but surely been trying to give oatmeal a second chance.

Well, I came across a blueberry baked oatmeal recipe on a blog the other day and decided to give it a chance. I loved it! I did change several things in it. For instance, I used strawberries instead of blueberries. I used heavy whipping cream instead of yogurt (yeah, that's right!). And I didn't have enough brown sugar, so I added some honey as well.

In addition to the flavor, another thing I liked about this recipe is that it's a one-time deal. I prepare it, eat some of it, and place the rest in the fridge. The next morning all I have to do is serve my bowl and stick it in the microwave. No dirty pans.

Thursday, June 30, 2011

Chicken Empanadas


As mentioned on this week's meal plan, if the chicken empanadas turned out well, I would post the recipe. Well, I am glad to say that they did. Next time I make them, I will try to make some changes, which I will note at the end of the recipe.

Yesterday during lunch time:

B: "These are yummy!"
Me: "I know!" :p

Byron laughed at how humble a response I made to his compliment.

Chicken Empanadas
Taken from Food Network Magazine, slightly modified by myself.

- 2 11-oz packages pie dough mix (I made my own since it takes no more than 3 minutes to do)
- 1 1/2 cups of shredded chicken *
- 1 cup of chunky salsa
- 1 cup of shredded Mexican cheese blend (I used cheddar since that's what I had)
- All purpose flour for dusting
- Bread crumbs for sprinkling on top

Instructions:
1. Preheat the oven to 400F. In a medium bowl, combine the chicken, salsa and cheese.
2. On a flour-dusted surface, roll out the dough to a 1/8 inch thick. Using a 3-inch-round cutter (I used the lid of one of my pans), cut out as many possible circles. Place about 1 tablespoon chicken mixture in the center of each circle (I added more since my circles were bigger). Moisten the edges with water. Fold the circles in half and pinch to seal. Pierce the tops with a fork. Top with bread crumbs for texture.
3. Place the empanadas on a baking sheet and bake 15 minutes, or until golden. Serve hot.

Future modifications:
Next time I make these I'll probably put less chicken and instead add some black beans. I think some cream cheese would have been good in it as well.

* I like to keep a small ziplock bag in the freezer where I can put any leftover, already cooked, shredded chicken from previous meals. This allowed this recipe to be little to no hassle for me to make since the meat was already taken care of. All I had to do is take the bag out of the freezer the night before and let it thaw.

Thursday, June 02, 2011

Pizza sauce recipe

Whether you are going to make mini pizzas using English muffins, or go all out and make pizza from scratch, you should never use store bought pizza sauce. After you try this simple recipe, you'll understand why.

Homemade pizza sauce

- 1 14.5 oz can of crushed tomatoes
- 1 clove of garlic, minced finely
- 1 Tbsp of olive oil
- 1/4 tsp of dried oregano

Mix together in small pan and simmer for about 1 - 2 hours.

It's aroma is outstanding! And if you are having guests that day, i can guarantee you that they'll ask for the recipe :p

Monday, May 16, 2011

Veggie Quesadillas

I love these! This was a meal my mom made for us growing up. They are easy, yummy, and frugal. I will do my best at putting measurements, but do realize that this is a Mexican dish and therefore measurements are very vague. Feel free to modify.

Veggie Quesadillas (a.k.a. Tacos de Chile Poblano y Queso)

- 2 chile poblanos - broil them for about 5 minutes on each side until dark and crisp. Place them in a plastic bag, close bag and let cool. Then peel the skin off, remove seeds and slice in strips.
- 1 1/2 cups of corn
- Half an onion, sliced in strips
- 1 tablespoon of butter or margarine
- Salt and pepper to taste
- 1 cup of cheese (use any Mexican blend cheese or favorite)
- 6 Tortillas

Melt butter in pan. Add onions and let fry for a few minutes. Add corn, peppers and salt and pepper.


When nice and warm and mixed well together, turn off heat and sprinkle cheese on top.


Let melt. Serve on tortillas and roll up. Enjoy!