I've had a tremendous response to my WHY-Wednesday post regarding making my own yogurt at home.
In particular, I've spent a couple mornings walking different friends through the process of straining and storing yogurt after it has set overnight. It has been so much fun being part of their excitement as they discover for themselves the thrill and empowerment that comes with making your own yogurt.
Though I referred you to some good sites that show how to make your own yogurt, I've realized through answering some friends' questions that the sites did not do a good job walking readers through the final steps of straining and storing your home-made yogurt.
Therefore, I have decided to take your hand and walk you through this very simple process of making your own yogurt.
For starters, you can use any kind of cows milk-- whole, 2%, 1% or skim milk. Since I strain it in the end, I have found the consistency to be the same.
I use an entire whole gallon of 2% milk.
You will also need 1-2 TBSP of starter yogurt
(live culture yogurt found in any grocery store. After you've made your yogurt once, you can just use your homemade yogurt as your starter for your next batch)
Pour the milk in your slowcooker.
(You can also use a pan over the stove top, or even microwave. It really does not matter as long as you are checking the temperature. Using the stove or microwave will make the heat-up/cool-down process go much faster than when using a slowcooker)

Cover and put on high and let it sit for about 3-4 hours until it reaches at least 180F (if it reaches over this temperature, no big deal. It will just take longer to cool down).

Once it has reached 180F, turn off the crockpot and let it cool down to 112-114F (this does not have to be too exact, but you do want it to stay close within this range). Depending on how quickly you need it to cool down, you can either leave the lid on or off. This will take between 1-2 hours.
Check temperature has reached the 112-114F range. If it has gone bellow this range, no big deal. Just turn it back up until it's back to the temperature you want it to be.
** picture missing-- will post one later**
(If a layer of "skin" forms on top of milk, just remove after it has finished cooling down)
Take a blob of your starter yogurt-- about 1 - 2 TBSP of it. If you've never done yogurt before, you'll need to buy it from the store. Just regular ol' plain yogurt that has live culture.

Yogurt-making is very forgiving, so no need to measure. I normally just scrape the sides of my yogurt container, and whatever is caught, that's what I use as my starter.
Place the starter in a little cup, pour some warm milk in it, gently stir it, then pour back into the slowcooker.
**picture also missing**
Place lid on crockpot, wrap in a beach towel and place in the turned-off oven with light on (the light will help contain the heat which will allow the good bacteria to reproduce overnight)
.JPG)
Leave it in the closed oven overnight for about 10-12 hours.
When you wake up in the morning, this is what you'll find:
TA-DAAAAAAAA!!!!!!!!

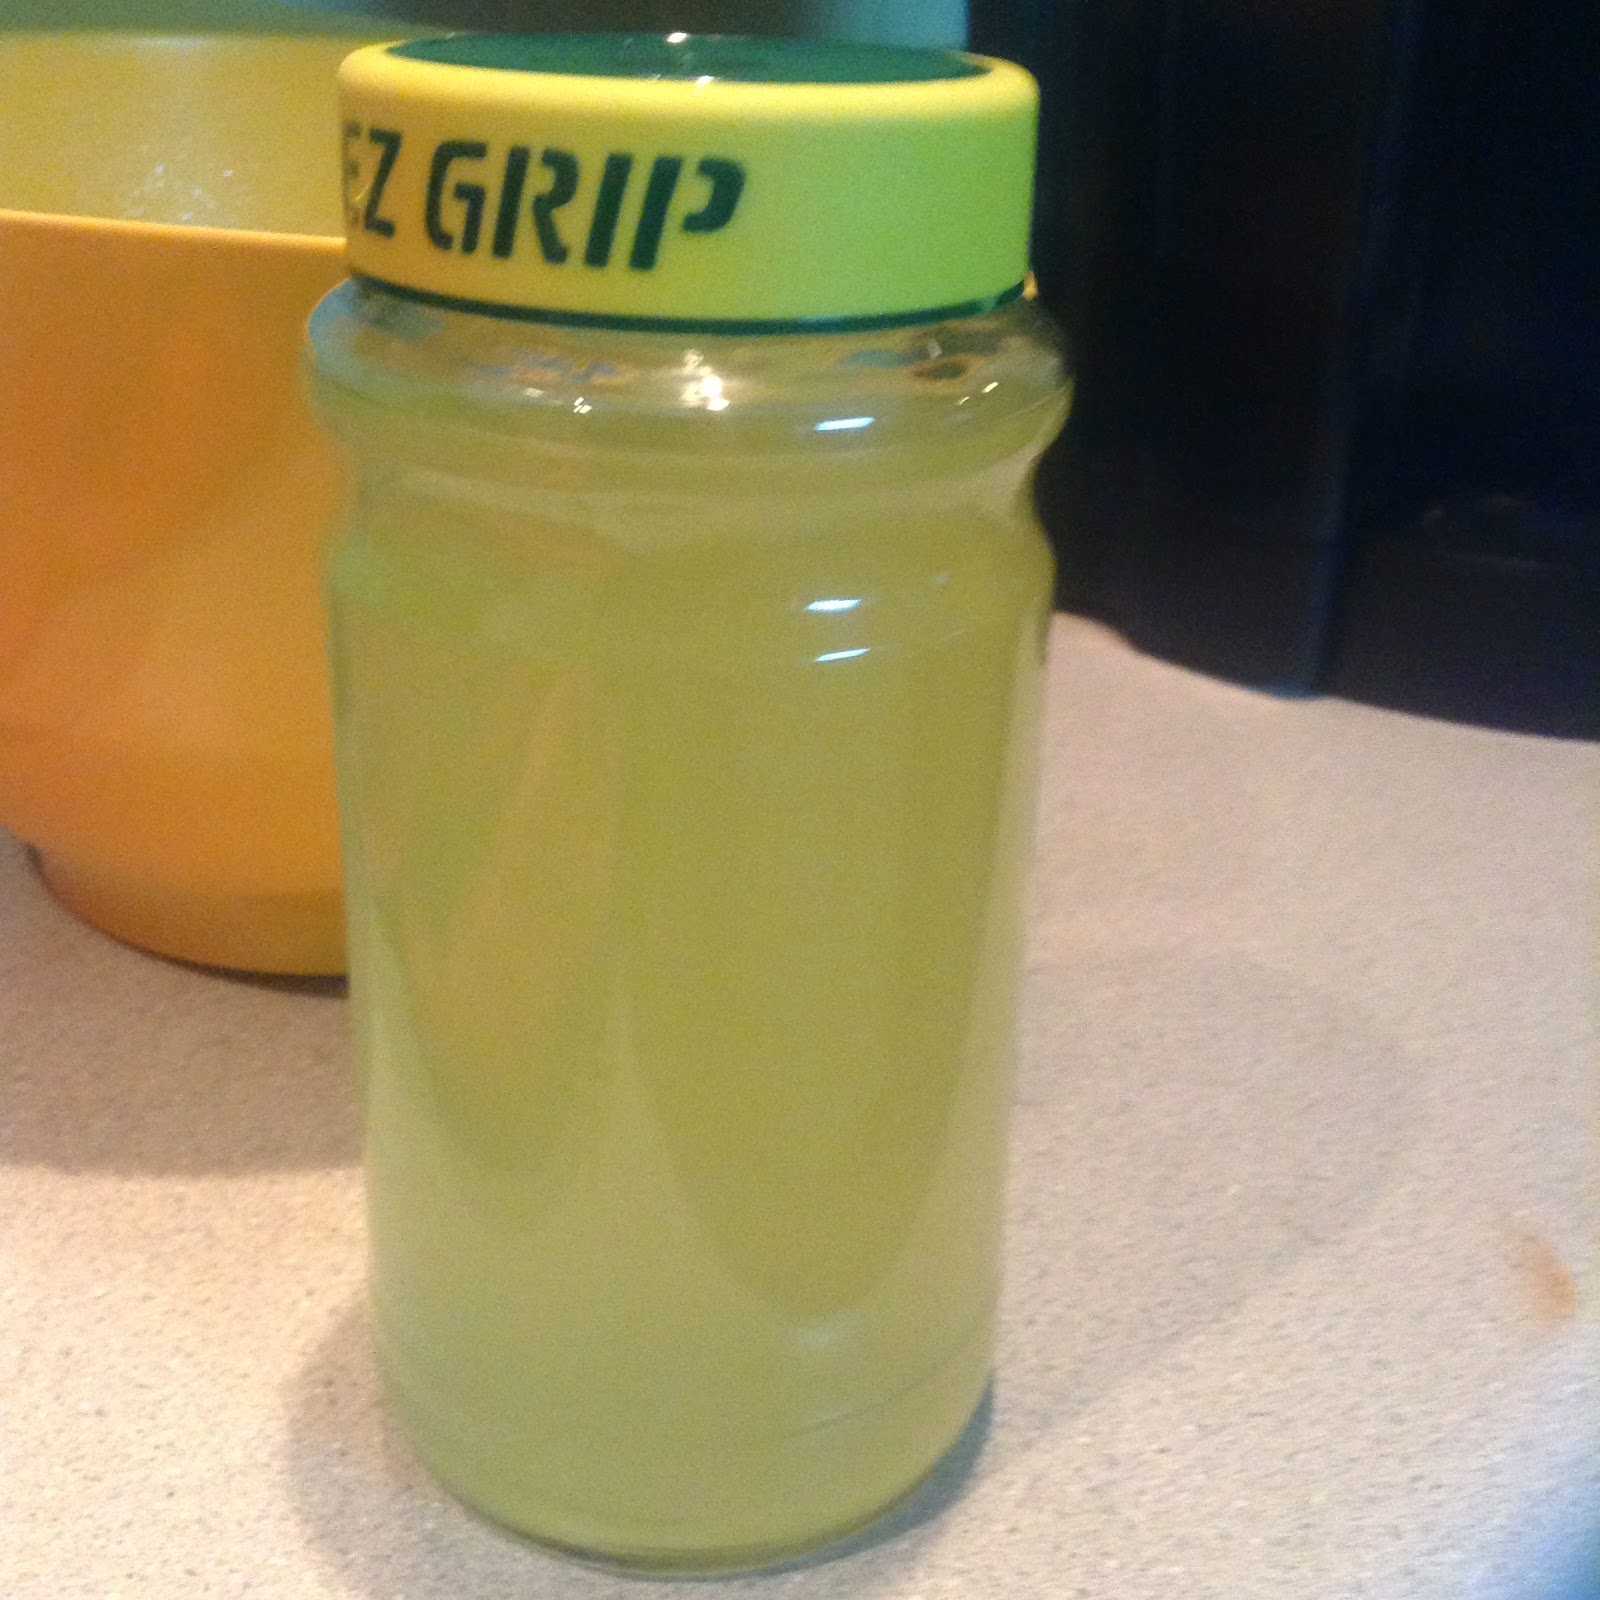
The yogurt is at the bottom, your whey is on top.
At this point, your yogurt is already made. You can go ahead and whisk it right then and there to make regular yogurt (it will be very runny. Runnier than store-bought yogurt), or you can drain the whey to make greek yogurt.
To drain, you'll need a large bowl to catch the whey, a colander, and a cloth. I use a cheesecloth, but it can be anything-- a towel, rag, shirt. Basically, a cloth large enough to comfortably fit over the colander.
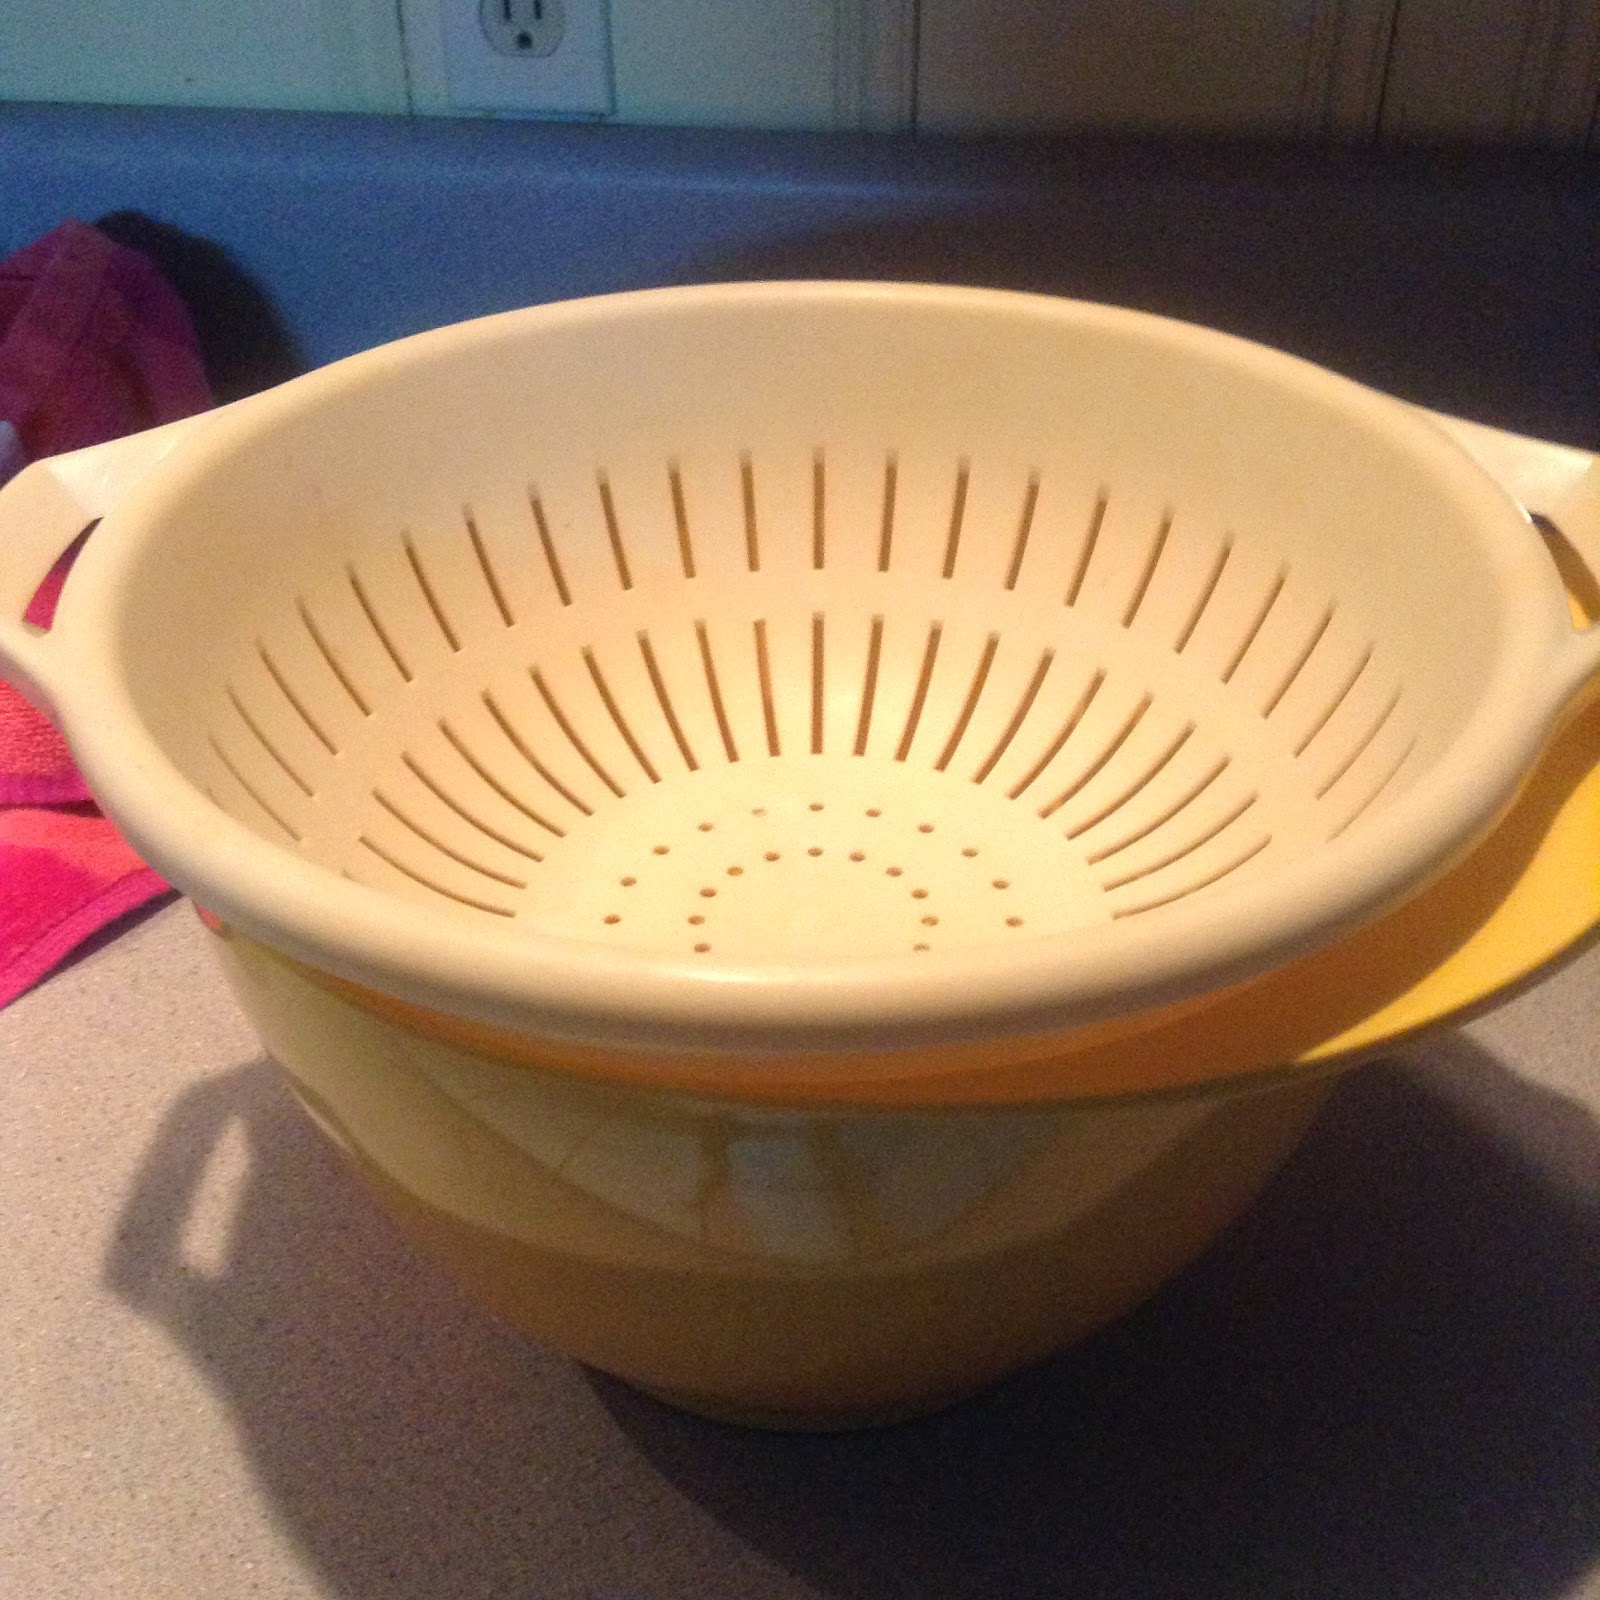

Pour the freshly made yogurt over the colander and strain for about 20 minutes.
NOTE: The thicker the cloth, the longer you'll need to drain. A cheesecloth is very thin, so it drains pretty fast.
Before it begins draining--


Dump the drained greek yogurt back into the slowcooker--


I like to save my whey and use it in my cooking, or toss it over my plants or compost pile if I already have too much of it.
Friends... I have made me some yogurt :)
Two large containers full of it, for a little over $3.

2 comments:
Lauren,
That is LABNE you are making! Your grandma used to hang the cloth (with the yohgurt inside) in a tree outside the kitchen door. Do you remember?
When I make it I hang the cloth from a chair, which is upside down on the table. ha ha. I should save that whey! I just remember ChiChi would hang it from the tree and of course would let it drip out.
Unless you want lots of furry friends, don't dump your whey into your compost pile! Freeze it and use for smoothies, as a milk replacement in pancakes/muffins, etc.
Post a Comment